I led up to the concept by asking students what the word intercept reminded them of. Where two roads cross. Football. There was another answer, but I can't remember it right now. Then, I drew a coordinate plane on the Smart Board. I asked students for points that would like on the x-axis. (3, 0). (5, 0). (-1, 0). (52, 0). (79, 0). What do these points all have in common? The second number is always zero. What do we call that second number? Y. Yes, the y-coordinate is always zero if a point is on the x-axis. We repeated the process with naming points on the y-axis.
Next, it was time to take notes in our interactive notebooks. To save a little time, I wrote out the definitions, leaving blanks for my students to fill in. We repeated the same process for y-intercepts.
 |
| X- and Y-Intercepts Interactive Notebook Page |
Next, we made a poof booklet to practice finding the slope, x-intercept, and y-intercept of a line. This is our second poof booklet of the year. The first poof booklet we made was for exponent rules. A poof booklet is made out of a single sheet of letter-sized paper. I have embedded the file to make this booklet at the bottom of this post. Here are step-by-step pictures on how to assemble the book:
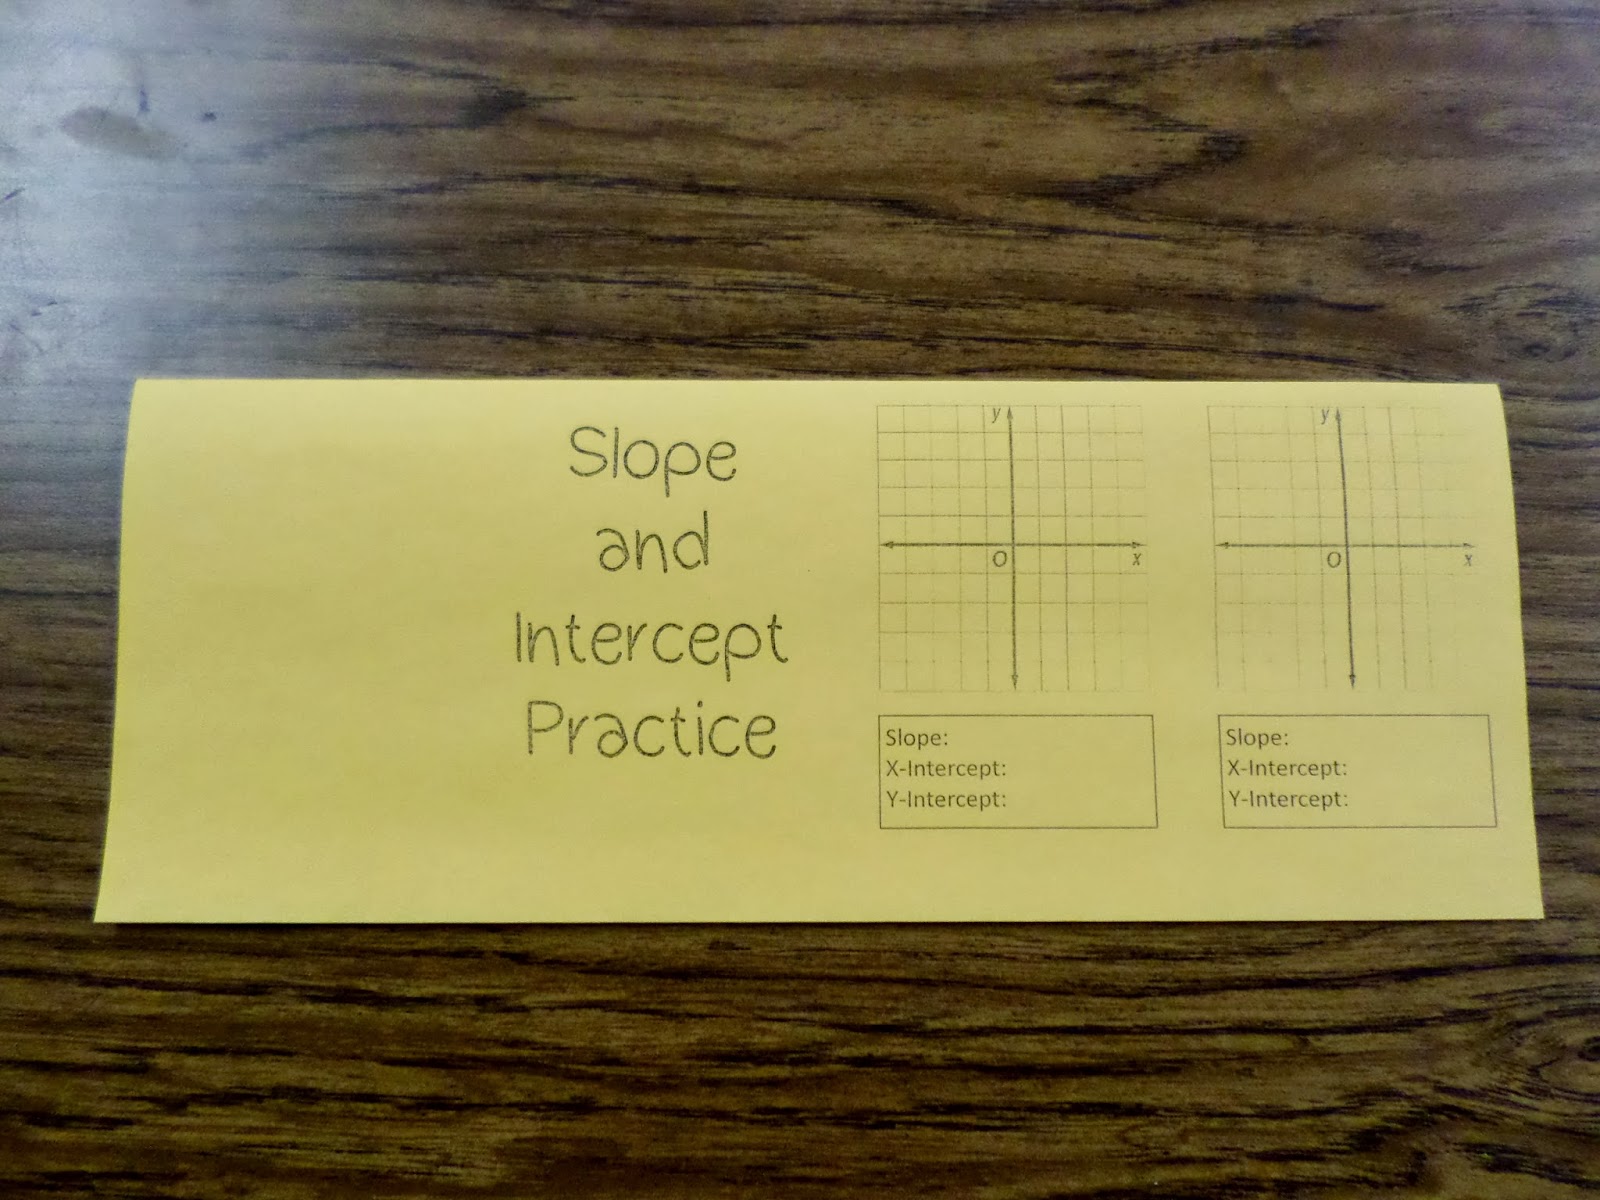
Here's what the template looks like to begin with.
Fold the template in half, hot dog style. The graphs should be on the outside.
Fold in half again, so the front and back covers are showing.
Fold in half once again. The front cover of your booklet should say "Slope and Intercept Practice." It should look like a mini-book. We're not done yet, though.
Unfold your booklet. It should be creased like this:
This time, fold the paper in half, hamburger style. Some of my students insist on calling this taco style because hamburger buns aren't joined on one edge.
Take your scissors and cut through the fold above the front cover to the crease. Do not cut past the crease or you will end up with two pieces of paper instead of one. Yes, I've had students do this.
Unfold the paper, and refold it hot dog style. You should notice that the middle starts to "poof" open. This is good!
This is the hardest part for my students. We want to open up the "poof" and collapse it so it forms the pages of our book.
Now, we have a cute little book that not only looks like a book but opens like a book!
Here is what the first two pages on the inside of the book look like:
I gave students a pair of ordered pairs to graph on each page. Students were tasked with graphing the points, determining the slope of the line, determining the x-intercept of the line, and determining the y-intercept of the line. After doing this with my first period, I learned the importance of using a ruler to connect the two ordered pairs. I specifically picked ordered pairs that would produce a line that had x- and y-intercepts that were integers. But, if the line is not drawn perfectly straight, it often looks like it crosses between two integers.
Here's what the booklet looks like when glued in our notebooks. Students were required to finish the booklet as their homework assignment. I like that this can be kept in their notebooks and referenced in the future. The same cannot be said about most of the homework assignments I give.
Final Product:
Download the files you need to complete this page below:


